Get Dirty to Get Joy- Bacteria in Soil Acts as Antidepressant
 A bacteria found in soil called Mycobacterium has been found to effect the same neurons as Prozac, offering people a natural lift in mood. This is just one more great reason to get out in the garden and grow your own foods. Not a green thumb? Just spending time in areas with rich soil will allow you to breath in these great benefits. – Intelligentactile
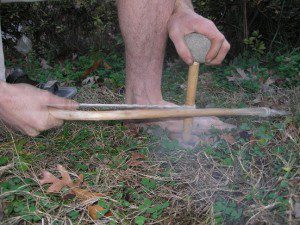
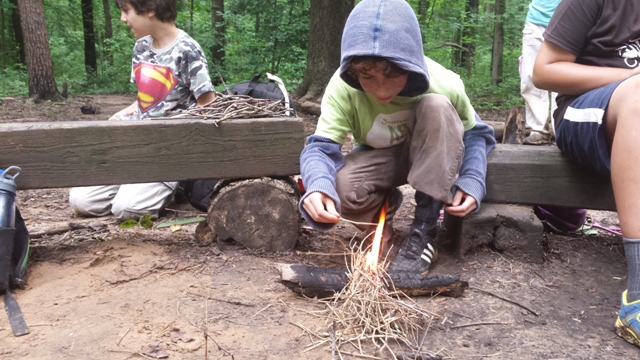
Imagine: You’re feeling so depressed that you visit your doctor and request a prescription for a mood elevator. Instead of writing you a prescription for Prozac or a similar antidepressant, she advises you to get dirty. While you consider changing doctors, she describes how getting dirty changes your brain chemistry. The microbes in dirt, she says, tweak the same neurons that are stimulated by Prozac. Your options, she explains, are an expensive drug plus its possible side effects, or gardening, yard work, or a romp in the park. Your doctor, it turns out, hasn’t gone round the bend. She is actually up-to-date on the latest scientific findings about how the natural environment affects our brain function.
The dirt-and-Prozac connection surfaced a couple of years ago from Dr. Chris Lowry and his colleagues at the University of Bristol and University College London. They exposed lung cancer patients to a common, inoffensive microbe called Mycobacterium vaccae, found in soil. The patients unexpectedly reported increases in their quality of life, including a brighter mood. The researchers wondered if this effect was caused by stimulation of neurons in the patients’ brains that produce serotonin, a feel-good chemical.
Taking the next step, they broke up M. vaccae into fragments with sound waves and injected them into the windpipes of anesthetized mice. When compared to controls, the mice exposed to M. vaccae had more activity in serotonin-producing neurons and higher levels of serotonin in several areas of the brain. “[The bacteria] had the exact same effect as antidepressant drugs,” Dr. Lowry said. The scientists said that one might derive dirt’s benefit directly by rooting around in a vegetable garden, or by eating lettuce or carrots picked from that garden. Popular media ran with the findings. ”Is Dirt the New Prozac?” asked Discover magazine.
The dirt-and-Prozac connection fits with a recent idea in medicine called the “hygiene hypothesis.” According to this concept, exposure early in life to the bacteria, fungi, and viruses found in common, everyday dirt is necessary to stimulate our immune system. When children are exposed to the stew of microbes in dirt, their immune systems become stronger. The immune system also learns to ignore substances like pollen or the dandruff of pets, which can trigger asthma and allergies. Researchers have shown, for example, that kids who grow up in dirty environments such as farms have a lower incidence of infections, asthma, allergies, and eczema later in life, compared to kids raised in urban environments in which parents try to keep them squeaky clean.
For a century and a half we have waged merciless war on filth through public health measures such as public sanitation systems and water purification programs. These developments have been enormously successful. The increase in lifespan in modern societies is due largely to the reduction of death rates from diseases such as typhoid and cholera, which in nineteenth-century America were called “filth diseases.”
We have to wonder, however, if we have gone too far in our obsession with hygiene. Throughout our evolutionary history our ancestors lived in intimate contact with dirt, and its influence, we now see, was not all bad. We evolved in the outdoors, and we are beginning to glimpse the price we are paying for shutting ourselves off from nature.
Don’t worry. Nobody is suggesting that we never bathe or clean our bathrooms. Neither is it necessary to inject M. vaccae into our windpipe. If we merely go for a walk in the woods, grub around in our vegetable garden, or weed our flowerbeds, we get a dose of the good bugs simply by inhaling.
“Nature deficiency disorder” has been proposed as a term for the problems we create when we build a wall between the natural world and ourselves. I am highly susceptible to this malady. When I spend too much time indoors, I become increasingly moody and morose. There’s only one cure: take a hike, go camping, or root around in my veggie garden. These activities are more than a hobby; they have become an essential part of my life and an important element in my personal health plan.
What about kids? Not so long ago, play and getting dirty were pretty much the same thing — frolicking in a sand box, making mud pies, romping in parks. Now many parents are horrified by dirty play. Keeping kids spotless and unsoiled, however, may be setting them up for trouble later on, because without exposure to nature’s medley of microbes our kids can grow up with confused, weak immune systems. Can we rethink the prohibition on dirty play for the sake of our children’s health?
Antidepressant medication can sometimes be a treatment of choice. It can work wonders, and in some instances can be life-saving. But if your doctor advises you to get dirty instead of taking a pill to perk up your mood, don’t look at her strangely. Pride yourself on having a physician who is on the cutting edge.
Think of it this way: Have you ever seen an unhappy earthworm?
By – H. L. Mencken
Source:
http://www.huffingtonpost.com/dr-larry-dossey/is-dirt-the-new-prozac_b_256625.http

 Nature empowers females (Notice that we call her Mother Earth, not Father Earth.). Although there are certainly laws of nature that must be “obeyed,” we generally don’t think of the planet in paternalistic terms. It’s difficult to behold the abundance of life brimming forth from every nook and cranny of this bizarre space rock and not feel the power of the womb, and realize that the forces at play are the maternalistic ones of nurturing, caring, and giving.
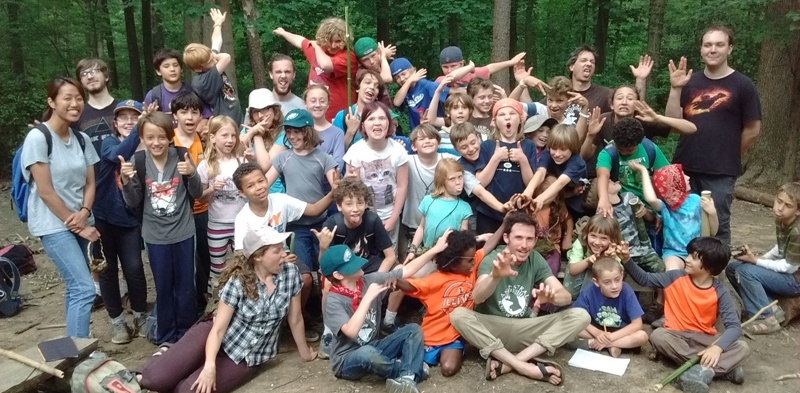
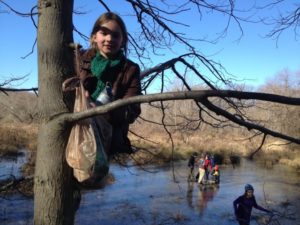 “So proud of my daughter, Sophia. She started off the week not sure if she wanted to go to Ancestral Knowledge Wood Wise I Camp, anxious at first that she was the only girl until a few more girls showed up. She came home every day with a layer of dirt and a smile on her face. Today she was so proud that she had earned her bead for going out in the woods alone, sitting quietly for half an hour, and observing animals. I’m grateful to the young women who were her role models as counselors this week. Sophia seems stronger and more confident. Ancestral Knowledge Camp seems to be an effective counter to princess culture. (See
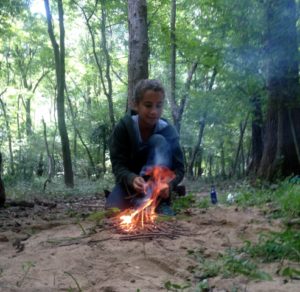
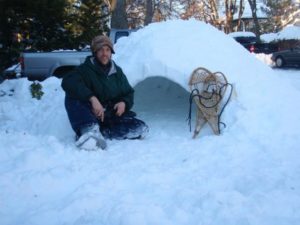
 Teaching Kids to love the winter
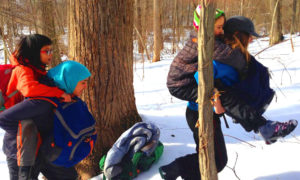
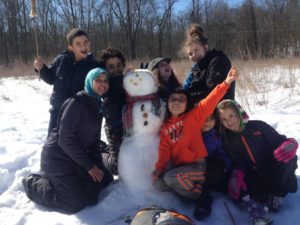
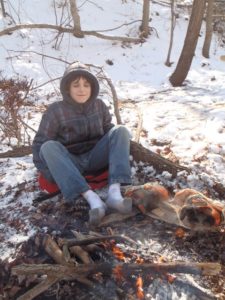 We encourage everyone to get out and enjoy the outdoors during the winter time. However everyone responds to cold temperatures differently. Keeping feet, hands, and clothing dry is very important because toes and fingers are most susceptible to damage from the cold. Whenever possible carry an extra pair of socks in case your feet get wet and a couple plastic shopping bags to put over the dry socks to avoid the boots saturating the dry socks. Wet feet, hands, and clothing need to be addressed in a timely fashion because wet clothing will cause you to lose warmth. If you get wet its best to get indoors or change those layers. If that’s not possible build a fire to warm up and dry out those wet clothes. Being prepared and dressing properly will allow for hours of winter fun and exploration!
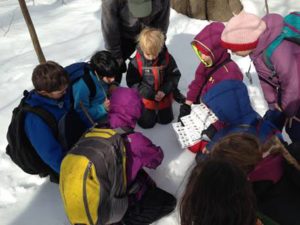 The Outer Layer (Outer winter coats and Snow pants) – The outer layer or shell should be waterproof, providing protection from wind, rain and snow. Waterproof shells typically have minimal insulation so they can be worn over the inner layers without being too balky . You’ll find outer shells in both jackets and pants, making them ideal for a number of cold-weather activities. Your winter coat should have a hood, be wind-resistant, water-repellent and breathable. Down jackets, filled with goose feathers, are excellent for warmth but need to be protected in wet weather with a rain jacket. Fleece-lined ski jackets are excellent also. One-piece snowsuits might be appropriate for kids who spend all day outdoors in the winter. Snowsuits are highly water-resistant and provide the maximum protection from the wet snow.
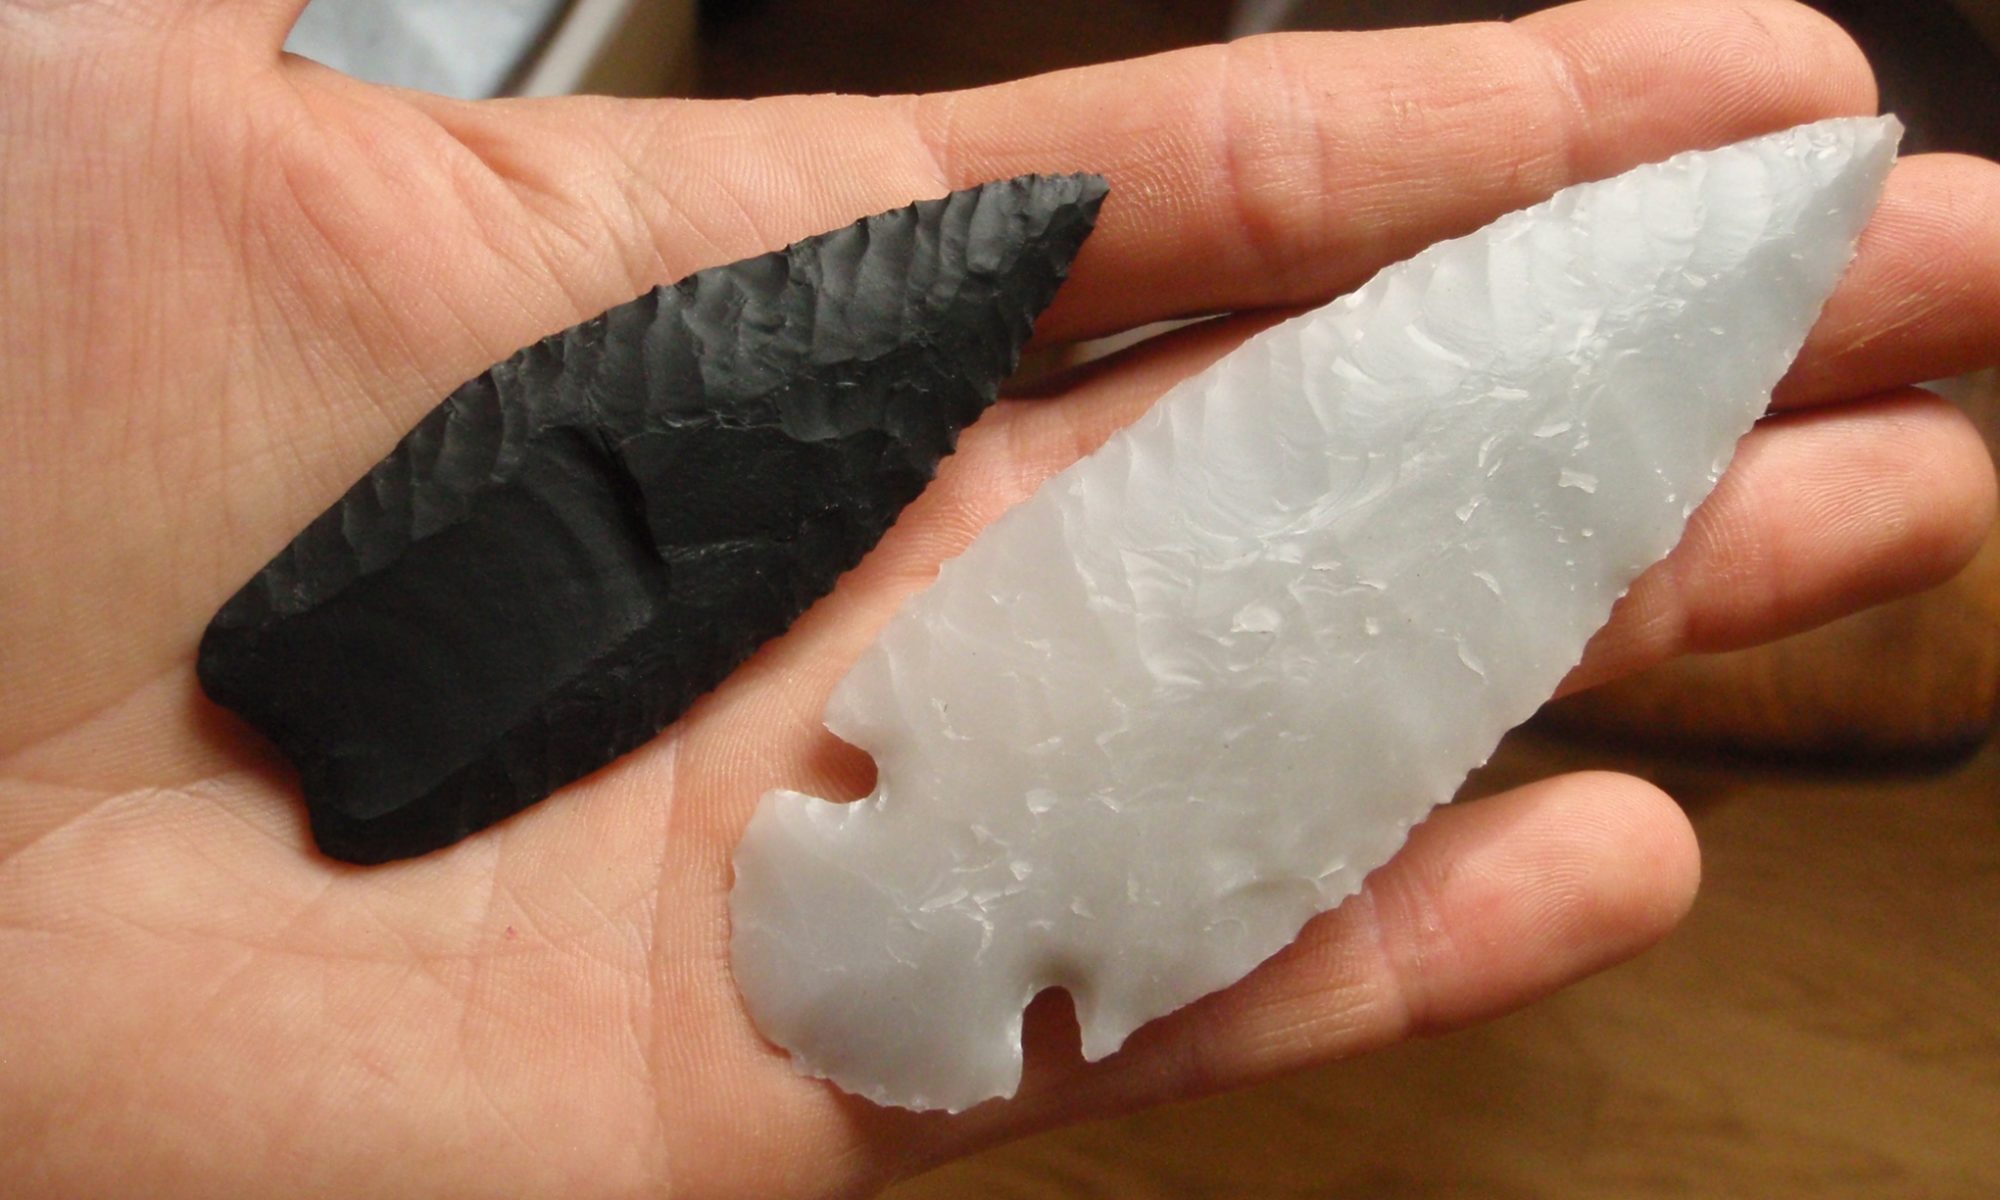
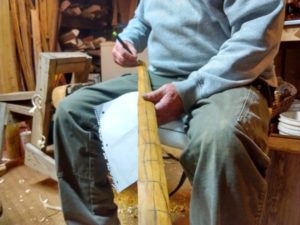 The bow making is underway. We are running at maximum capacity in both the Spirit of the Hunt Apprenticeship and the upcoming Self Bow Making workshop.