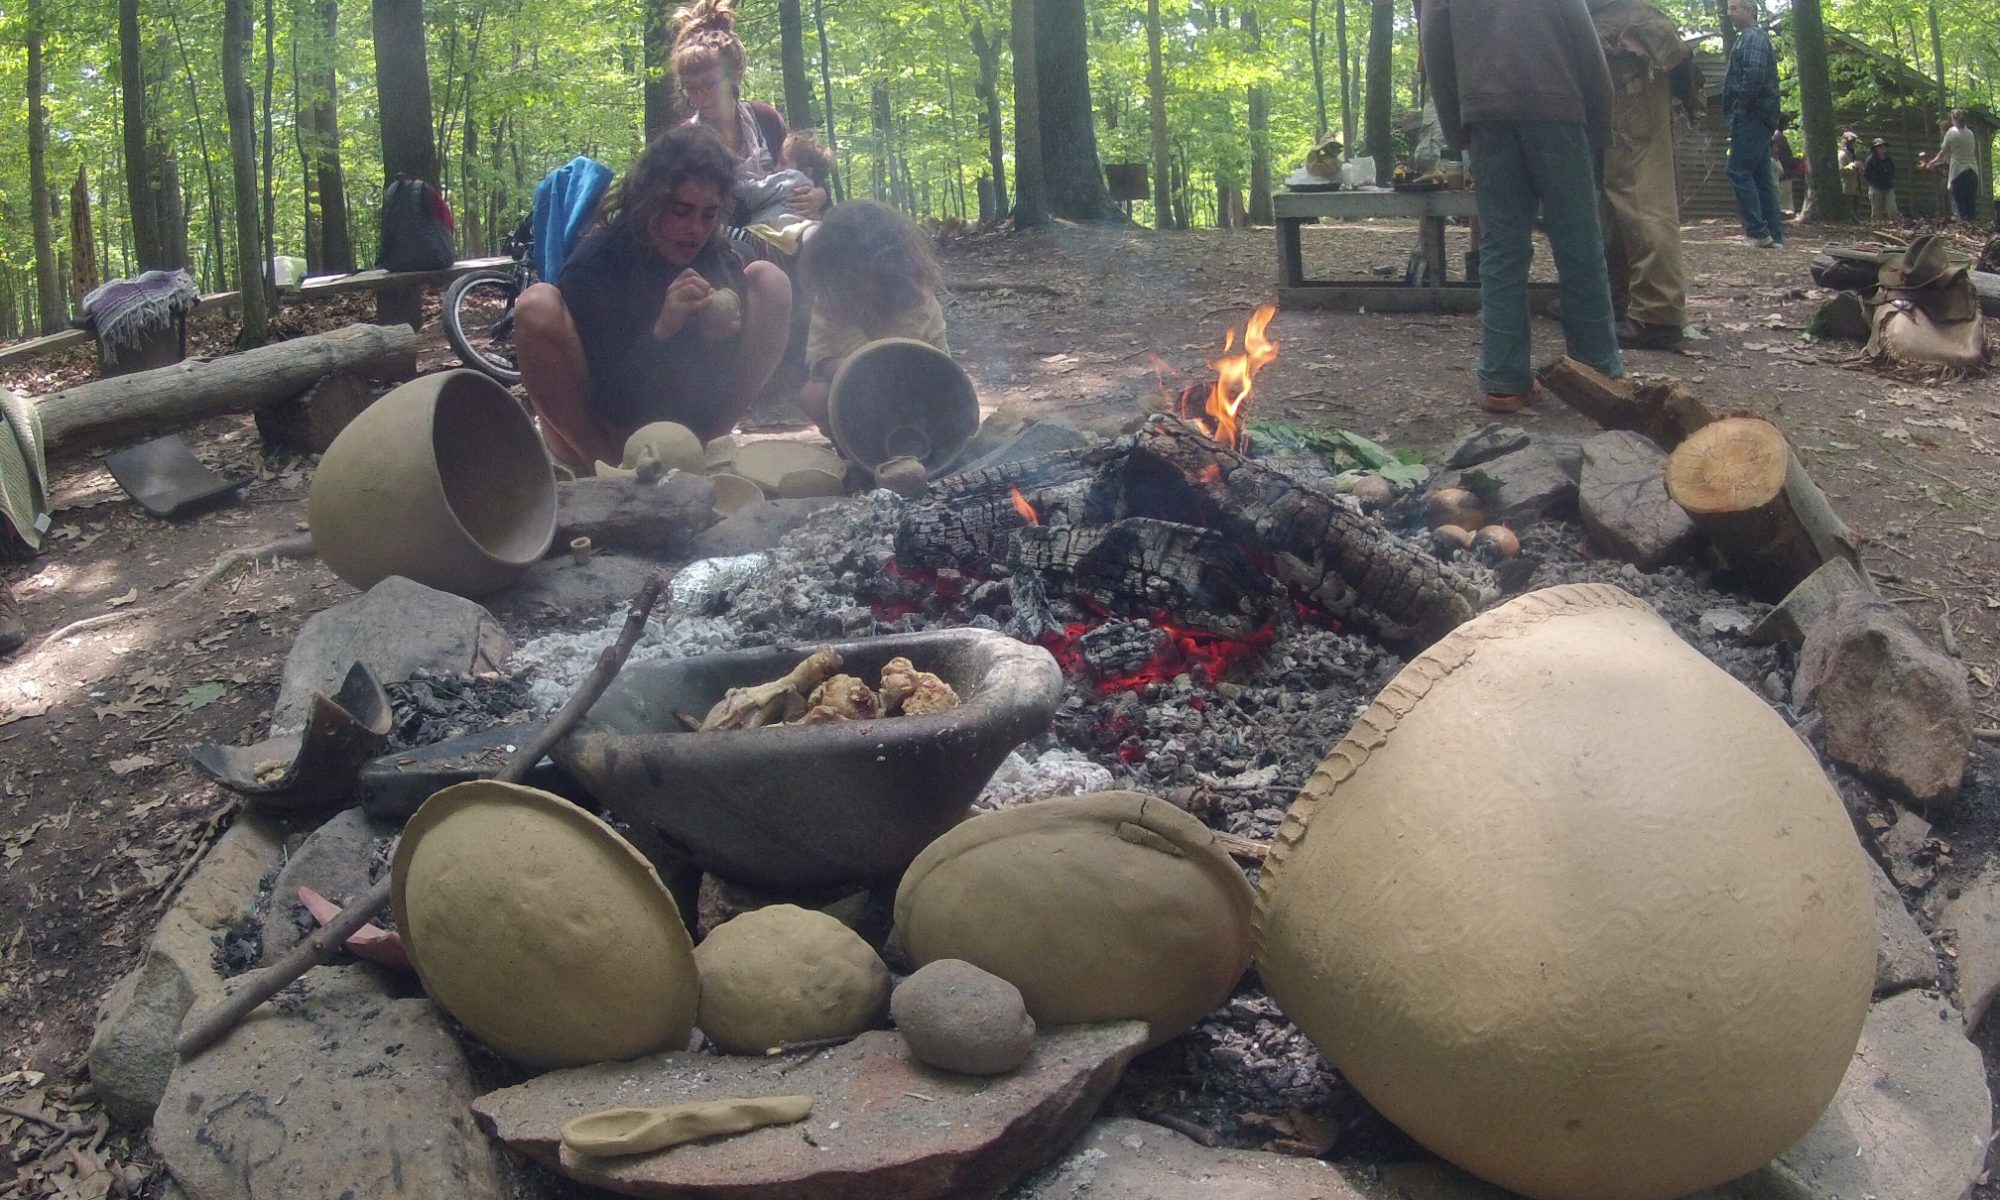

One of my favorite things about summer is the berries. While it is definitely the best season for fruit, berries really jump out as a real seasonal treat. We are spoiled these days with berries being available year round, frozen or shipped in from warmer locations where they can be grown year round, but these pale in comparison to the fruits of summer.
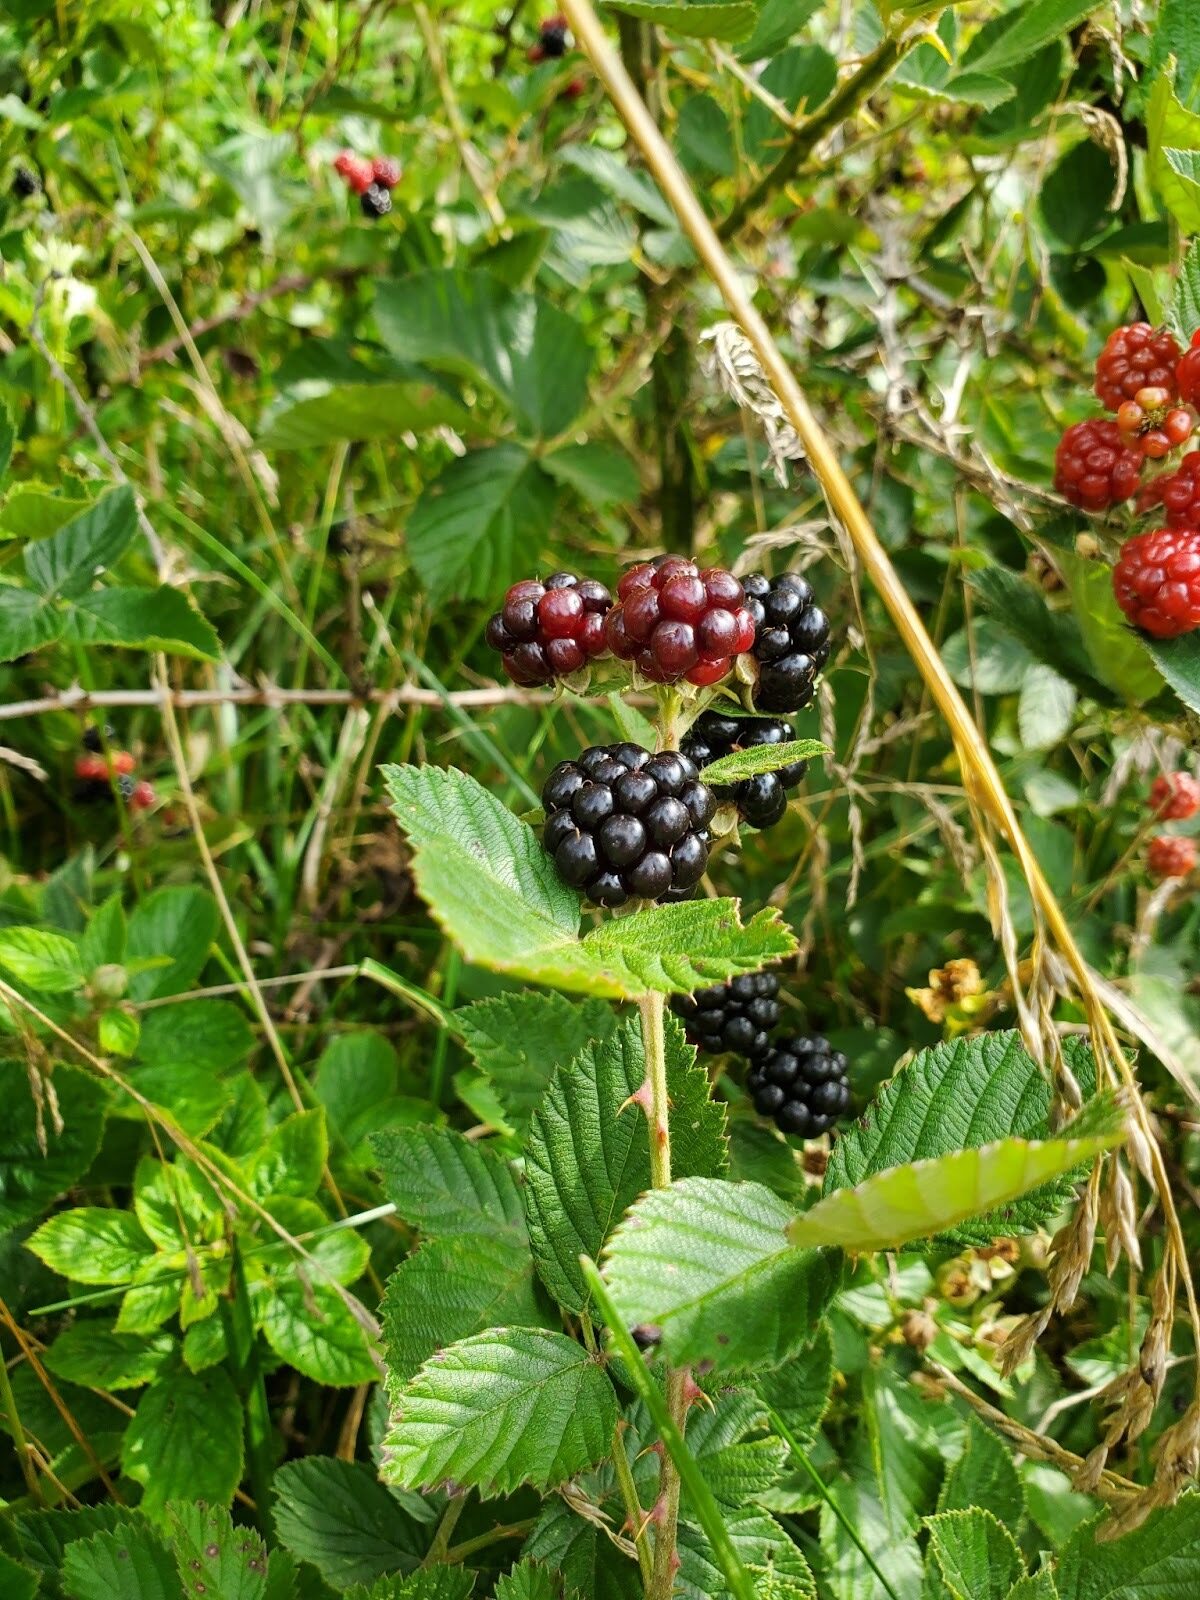
These last two years, I have realized there are buckets of wild berries growing all around us here. There are the blackberries and wineberries along the bike trails, there are blueberries and huckleberries in the woods. Mulberries (usually the non native white mulberry) drip from the trees leaving the sidewalks stained purple.
Last year, I read M. Kat Anderson’s “Tending the Wild” about how California’s native communities had a cultural relationship with the ecosystem that fostered many of the plant communities in the state while simultaneously providing the resources their communities needed. This got me thinking about my relationship with the berry bushes in my life. I may collect arrow shafts from the blueberry bushes, but I am also pruning them, removing dead wood that may harbor disease, keeping vines off them, making sure they don’t get too shaded out which encourages them to produce more fruit the following year; I might not be able to beat the birds to them but the plant and I both benefit from the relationship.
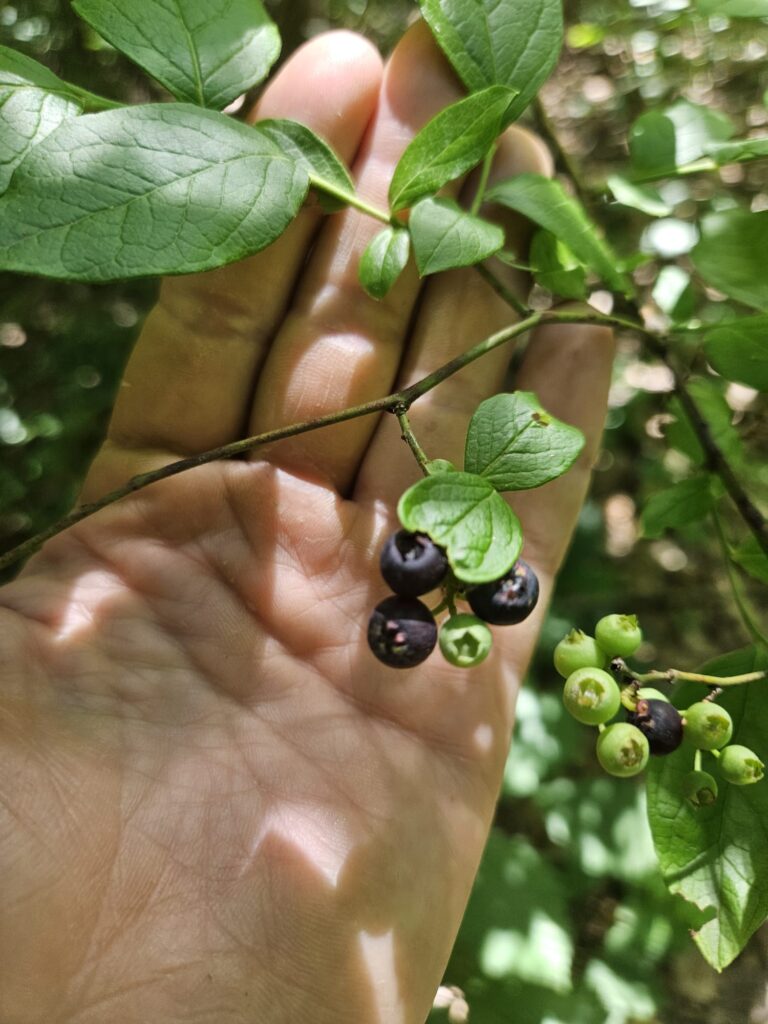
While the time of year for pruning and fostering your local berries is past, you can still get out there and enjoy the bounty of the season.
I am going to share my general recipe for berry ice creams. I’d encourage you to go out and forage some berries (especially if you get the wineberries to reduce their spreading) but it works almost as well with store bought berries If you do not have an ice cream maker, I have successfully made this ice cream by using one large bowl (material doesn’t matter) with ice and salt, a smaller metal bowl nestled inside and a spatula. I will keep it in the freezer and every few minutes scrape the sides of the bowl. I have also heard of people making it in 2 ziplock bags or inside metal paint cans. You can google or find instructions for those methods on youtube. One good thing about berries in the ice cream is they contain pectin which helps stabilize the ice cream, break up ice crystals and make this one of the better ice creams to make without an actual ice cream maker. That said you can often find used ice cream machines at goodwill stores for very cheap.
Ingredients:
1 pint berries
½ cup evaporated milk (you can use condensed milk but omit any additional sugar)
1 cup heavy cream
3 egg yolks
½ cup sugar
Juice of ½ lemon.
In a sauce pan put the berries, a pinch of the sugar and lemon juice over low heat and allow the berries to break up and cook.
While the berries are getting to simmering, whisk together the remaining sugar and the egg yolks, set aside.
In another sauce pan heat up the evaporated milk and cream. You should be aiming to have them be 140° but if you don’t have a thermometer, stop them before they start to froth.
Once to temp, whisk ¼ of the cream milk mixture into the yolks before gradually adding the rest.
If you are making blackberry or wine berry ice cream you need to the berries through a mesh strainer, you can press them through with a rubber spatula to get ALL the summer berry goodness out of them. Blue berries you can strain too, but it isn’t necessary
Mix the berries in with the cream and place in the fridge until it is under 45° or overnight.
If you have an ice cream machine or are using an improvised freezing method follow the instructions from here using your ice cream base instead of theirs. https://www.youtube.com/shorts/oIWAtN4x92Y
Once you have the mixture churned and ready to go in the freezer, this is the time to add any add additional things into the mix. for example a fudge swirl or chocolate chunks which pair super well with berry flavors.
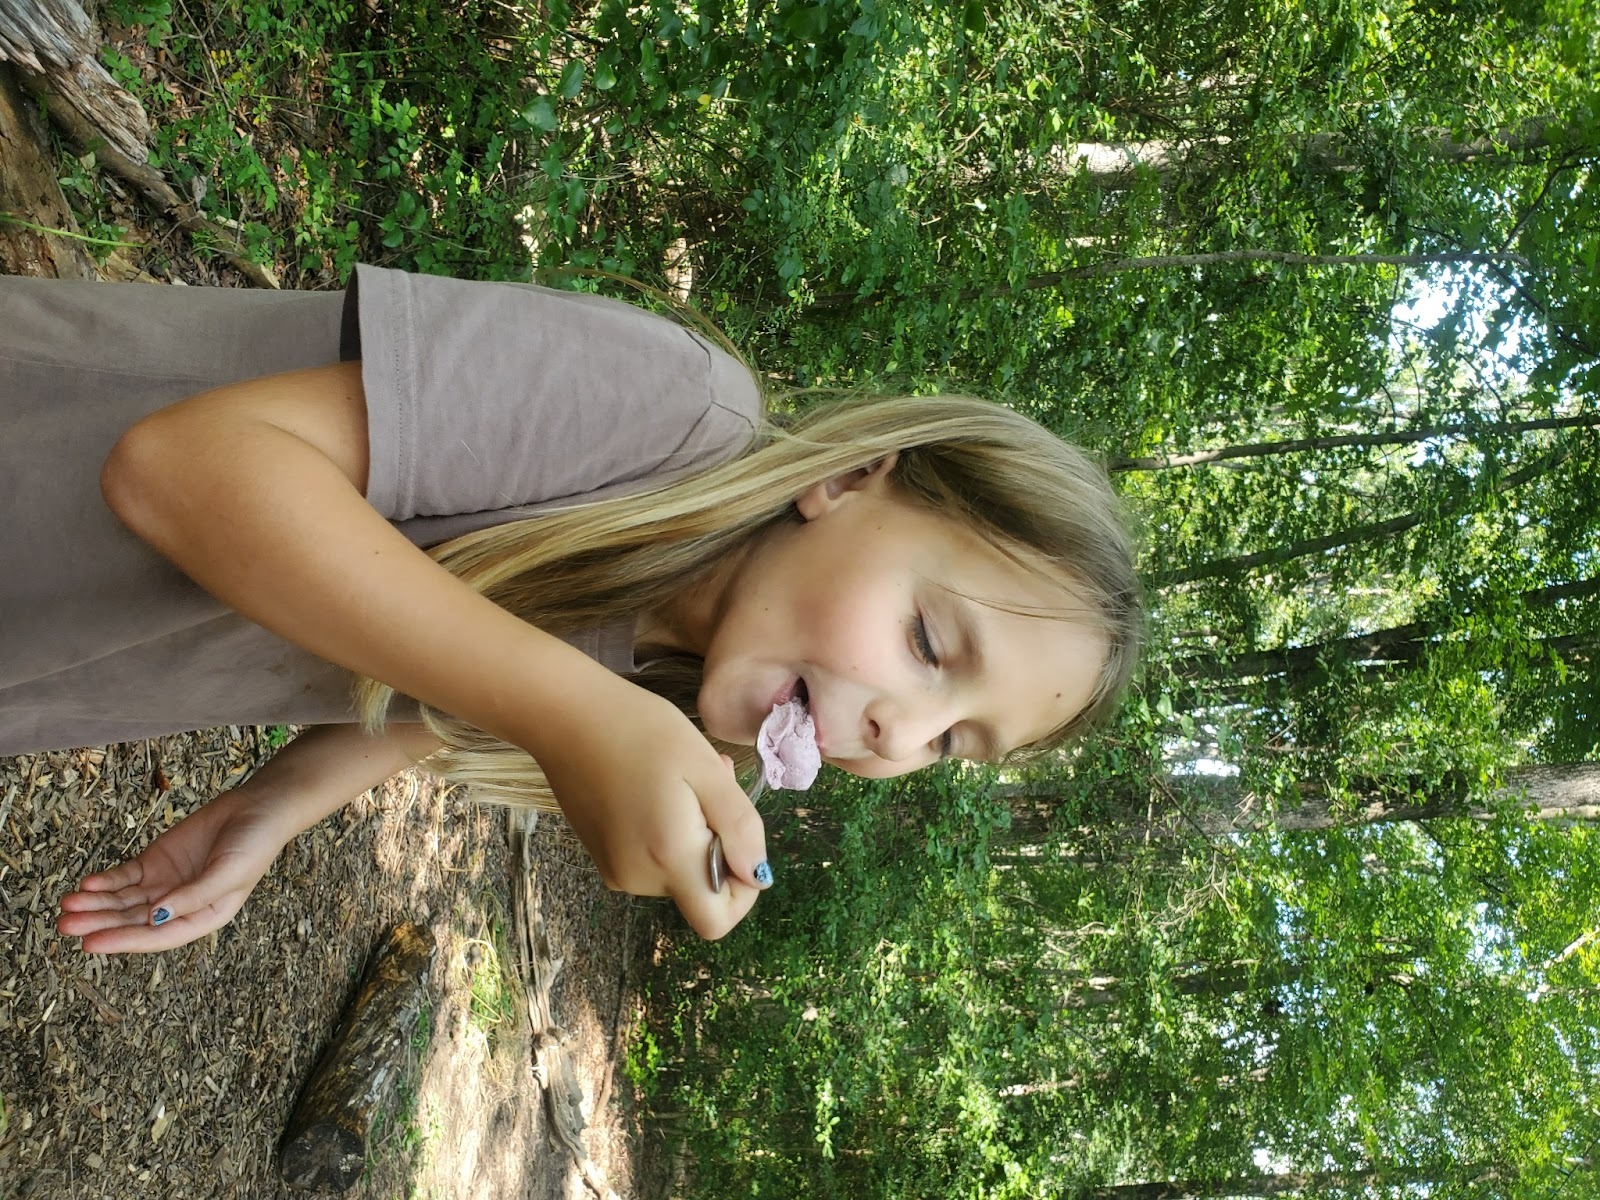
Enjoy beating the heat with your sweet berry treat!



 We encourage everyone to get out and enjoy the outdoors during the winter time. However everyone responds to cold temperatures differently. Keeping feet, hands, and clothing dry is very important because toes and fingers are most susceptible to damage from the cold. Whenever possible carry an extra pair of socks in case your feet get wet and a couple plastic shopping bags to put over the dry socks to avoid the boots saturating the dry socks. Wet feet, hands, and clothing need to be addressed in a timely fashion because wet clothing will cause you to lose warmth. If you get wet its best to get indoors or change those layers. If that’s not possible build a fire to warm up and dry out those wet clothes. Being prepared and dressing properly will allow for hours of winter fun and exploration!
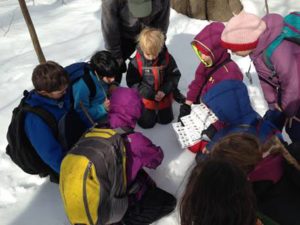 The Outer Layer (Outer winter coats and Snow pants) – The outer layer or shell should be waterproof, providing protection from wind, rain and snow. Waterproof shells typically have minimal insulation so they can be worn over the inner layers without being too balky . You’ll find outer shells in both jackets and pants, making them ideal for a number of cold-weather activities. Your winter coat should have a hood, be wind-resistant, water-repellent and breathable. Down jackets, filled with goose feathers, are excellent for warmth but need to be protected in wet weather with a rain jacket. Fleece-lined ski jackets are excellent also. One-piece snowsuits might be appropriate for kids who spend all day outdoors in the winter. Snowsuits are highly water-resistant and provide the maximum protection from the wet snow.
 Gloves and Mittens – Cold hands can ruin a day. It best to have water-resistant mittens, which keeps hands warmer than gloves. Gloves, however allow for more dexterity. In wet snow or rain water resistant material is important. Fleece and wool mittens become useless when wet. Wet gloves don’t keep hands warm unless you dry them out. Insulating your wrists aids dramatically in keeping you hands warm. Old wool socks with the toes cut out and a thumb hole added make great wrist gators. Wearing water proof mittens with a glove liner gives you the ability to have both warmth and mobility when needed.