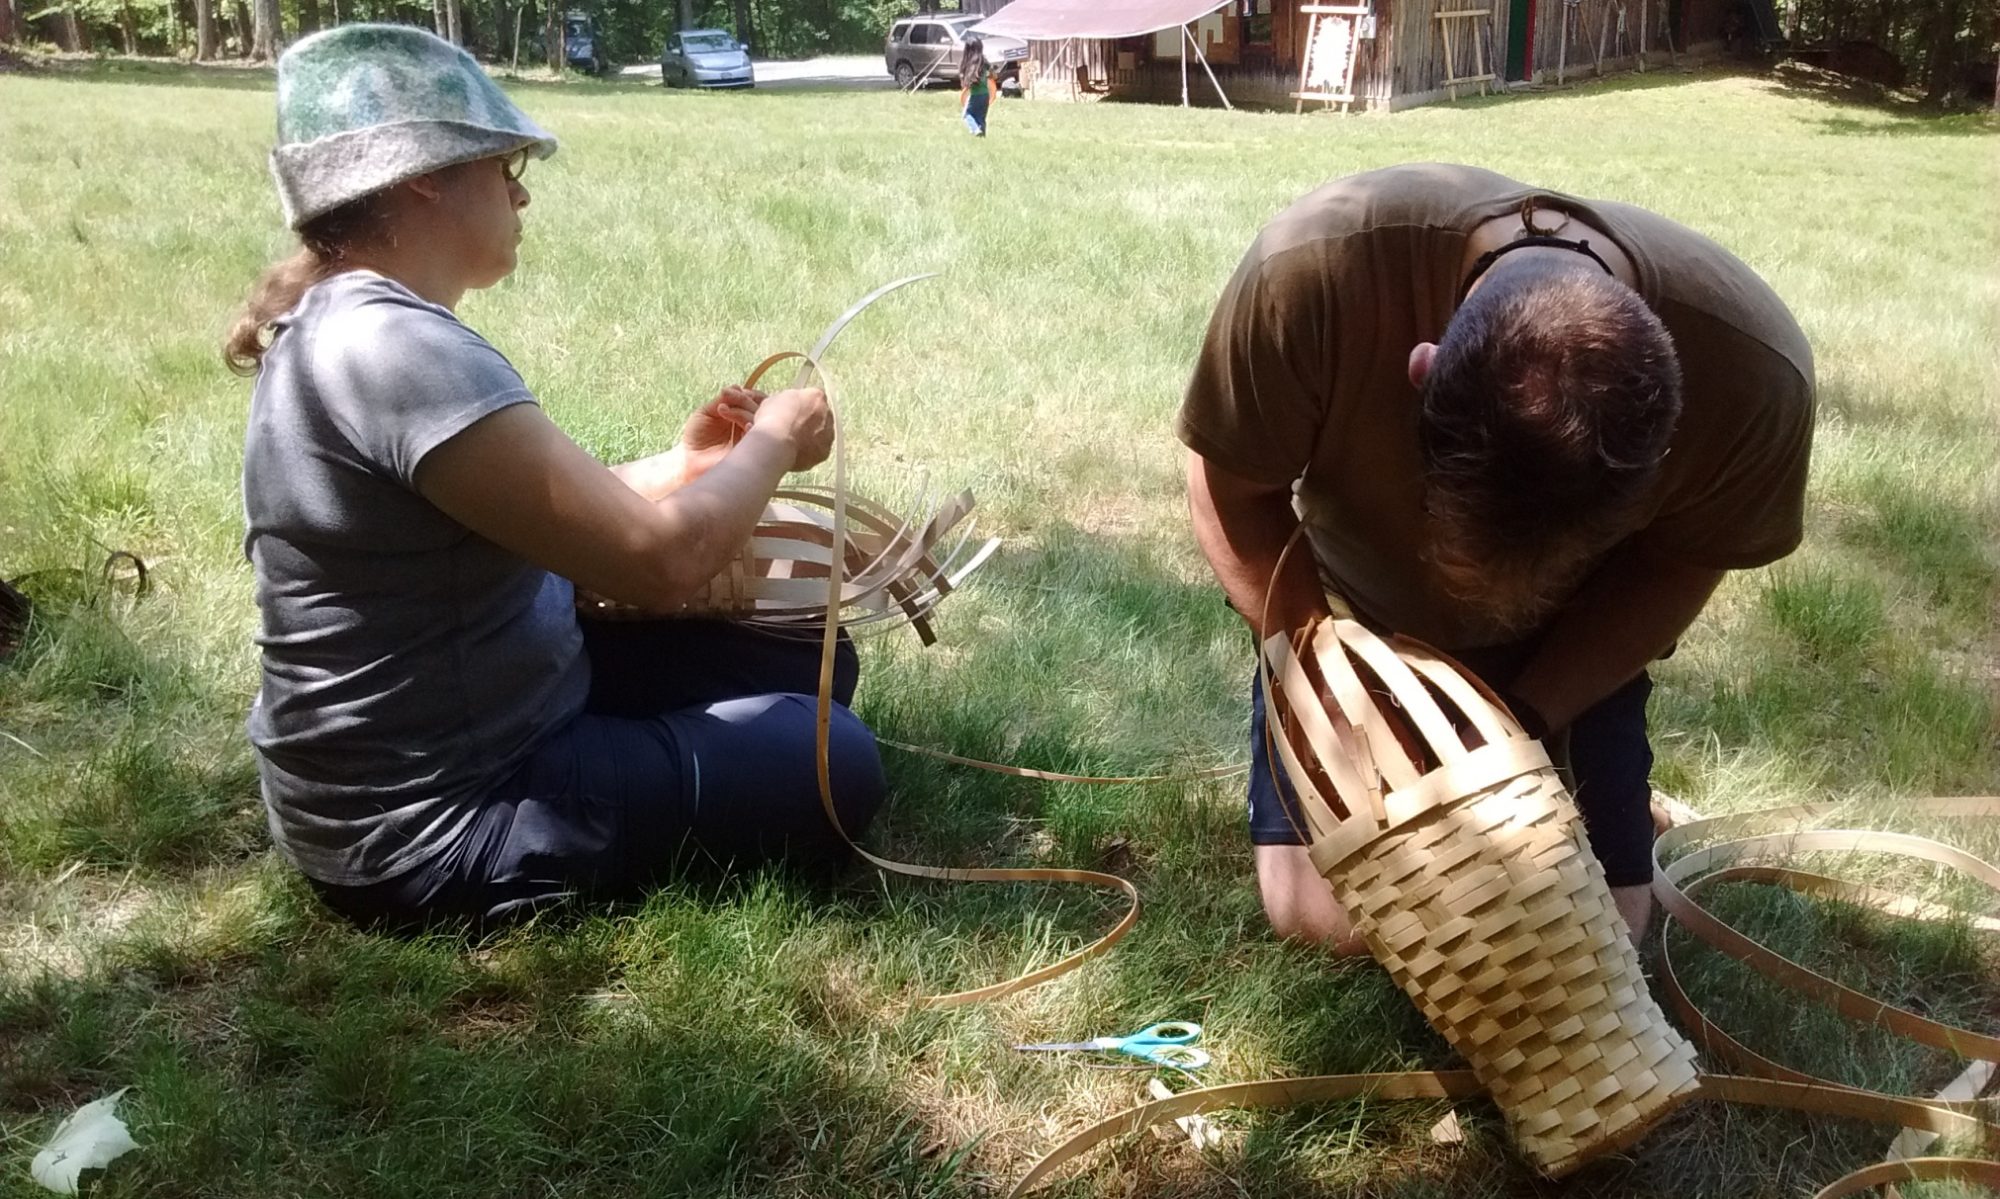
We just finished our largest ever Wilderness Survival Weekend class, and from my point of view as an instructor it was a resounding success. Our goal as instructors is always for our students to learn and practice physical skills, but also to find or recover new parts of themselves, and to develop new relationships with other people and the Earth. On both counts this class was outstanding.
The large size of this group (16 students, 4 instructors) really pushed us to fit everything into the class, but also created a higher level of intensity and a more dynamic learning community. In the end we covered the primary skills we set out to teach including nature awareness, shelter building and firemaking, and still had time to cover elements of water purification, trapping, hunting, edible wild plants and cordage.
Friday night as we sat around the fire several students asked about skinning and processing animals, and whether they would have the opportunity to learn that skill. I dutifully scanned the highway for roadkills on the way to class but didn’t find any good ones, so assumed we would not. Earth Mother, it seems, had other plans, as Saturday afternoon two students in the class discovered a young spike buck dead in the woods, from whom we subsequently harvested a beautiful hide that Hannah and I will be tanning this week.
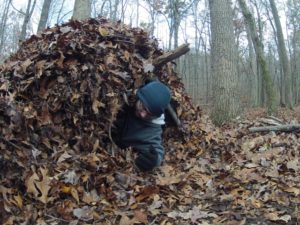
Every student worked diligently all day Saturday on their debris huts, which were built in threes to share insulation on adjoining walls. This was the first time most students had tried to build their own shelter and sleep in it, and impressively everyone did. Shelter may seem like a simple skill, but those who have “slept” in a poorly designed one know otherwise. Nonetheless, sleeping in your own debris hut is simply one of the most rewarding and empowering things a person can experience, and one of the very best ways to experience truly being close to Earth Mother. Before bed the instructors shared a few stories of their successes and many failures, prepared some pine needle tea, and the group headed out to greet the night.
Sunday morning we cooked on the fire again and then focused on bow drill. Quite a few people succeeded in getting a bow drill fire started, including several first timers. More importantly, everyone learned and got several steps closer to the skill level they desire, which in the end is far better than any specific end result.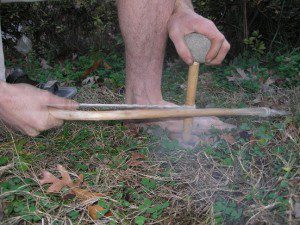
Finally, I want to commend the students in this class again on their outstanding attitude and spirit of teamwork and cooperation. Working in small groups can be challenging, but I saw many friendships started and lots of laughter as I wandered between the debris hut sites. When you’re used to living in a house with electricity, a toilet and refrigerator, being in the woods can always produce a little discomfort, but this class had an overwhelmingly positive attitude, which always makes for a better experience. Can’t wait to do it again!
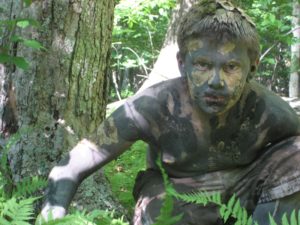 A bacteria found in soil called Mycobacterium has been found to effect the same neurons as Prozac, offering people a natural lift in mood. This is just one more great reason to get out in the garden and grow your own foods. Not a green thumb? Just spending time in areas with rich soil will allow you to breath in these great benefits. – Intelligentactile
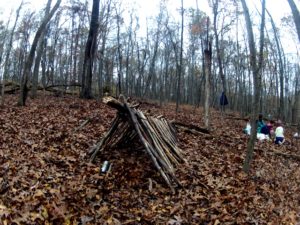 Volumes could be written about different styles of shelter, materials, etc. One of the most basic and frequently taught methods is a simple debris hut, which is essentially a framework of branches that can be covered and filled with layers of debris that shingle (on the outside) and insulate (on the inside). There are dozens of ways to tweak and customize this type of shelter, and it’s the type of shelter we teach most often. So for kids, what are some of the benefits to learning how to build shelter?
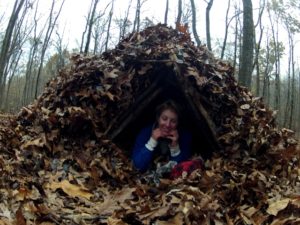 For one thing, it’s a skill that allows a wide range of ages and skill levels to tap into their powers of creativity and imagination. There’s a reason almost all kids love to build forts, and they’re all the better for doing it outside in the fresh air and sunshine instead of indoors where their poor little developing brains are bathing in the ambient noise of television commercials and the harmful compounds off-gassing from paints, carpet, and couch cushions. Building a shelter requires cognitive skills like visualizing, executing plans, problem-solving, and overcoming setbacks. Debris huts are relatively free-form, too. The sky is the limit in terms of finding new ways to fit the pieces together, find new ways to utilize the materials you actually have at hand in different situations, or add features like a lowered entryway that will keep your warm body heat trapped in the inner chamber, a fence of sticks at the base of your walls to trap slumping layers of leaves, or a lean-to/heat shield outside to protect a fire if you have one. The building blocks for shelter are accessible to almost everyone, with little skill or modification necessary. Sticks, leaves, and bark are laying everywhere at your feet, just waiting for kids to imagine and create things out of them, and shelter really helps people of all ages re-establish a creative connection to their environment.
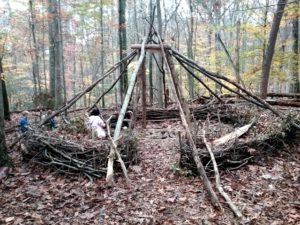 Building shelter can also be a real ice-breaker for students who aren’t as comfortable in natural settings. Some kids are even squeamish about simply sitting in leaf litter or on the ground when they first find themselves in the great outdoors. Next thing you know, they’re having a blast working in teams to rake up giant piles of leaves (and jump into them), gather sticks and branches, and peel up dead bark in sheets. The trick is to take what would normally be a chore, and transform it into play. It can be a social activity where everyone collaborates, building up each other’s strengths and compensating for their weaknesses. Making a shelter really helps people get over any hang-ups and break down any barriers they see between themselves and the natural world, because before too long you’re covered with nature in the form of “dirt” and leaf duff, and, lo and behold, it’s fun. According to the hygeine hypothesis, getting all this crud on you is actually beneficial to your health and immune function, and missing out of the experience of slathering yourself in benign and beneficial symbionts (bacteria and other) can be detrimental.
